Like all good things, the beautiful summer we had here in Upstate NY had to come to an end, and last week, a killing frost stopped the flow of veggies like tomatoes and peppers, summer squash and green beans. We still have lots of kale, rutabagas, beets, carrots and brussels sprouts to enjoy, but the time of trying to cram more tomatoes into the freezer is over for another year. I can’t say I am real sorry about that, because while I love doing it, putting up tomatoes does get to be a bit of chore by the time we are done. Tomatoes are tyrants, and if you don’t get them taken care of, they will not stick around waiting on you. They just go bad, and nothing upsets my resident gardener more than seeing something he grew go bad.
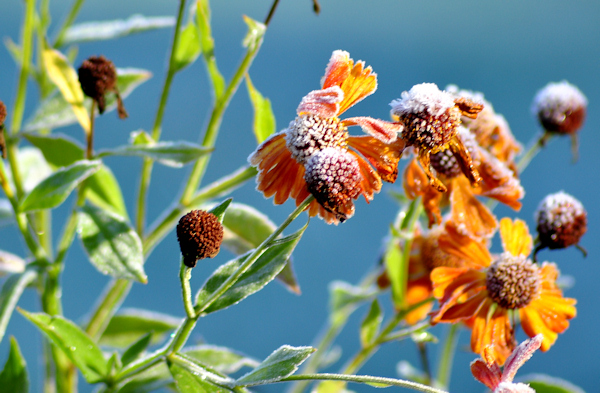
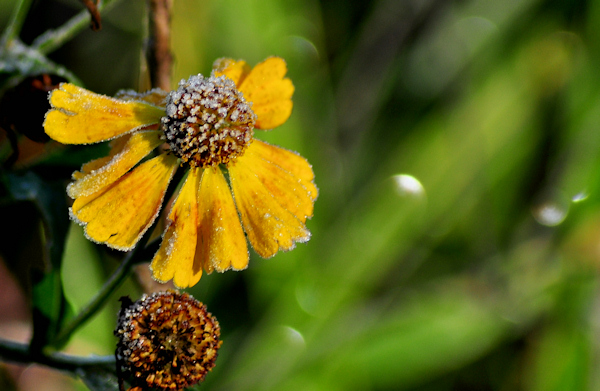
That same frost signaled the end of my flower gardens for another year as well, which is always rather painful. I do love winter actually, but it always lasts longer than my affection for it, so by the time I get to see new stuff growing again I will be really tried of seeing snow. Still – as is the case with many things, the bad is mixed with the good as these photos will prove. The frost adds a beauty all its own to the garden, but if you want to enjoy it, you need to get out there before the sun comes along and melts the pretty stuff away. This a “Mary Stoker” Dendrathema, which is a type of Chrysanthemum. It’s been pretty all through the late summer and fall, and the flowers of its last hurrah get a nice frosty coating. 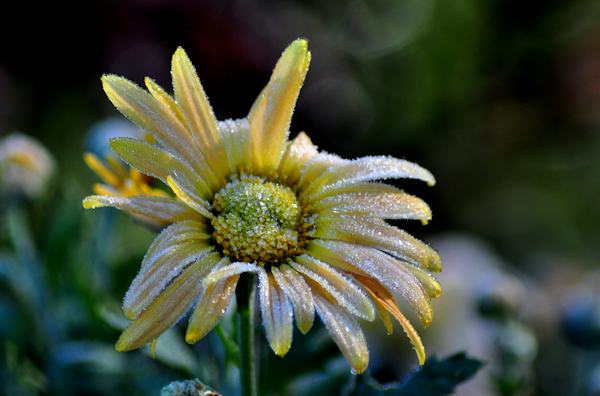 The Helenium I mentioned a couple weeks ago was still looking pretty nice.
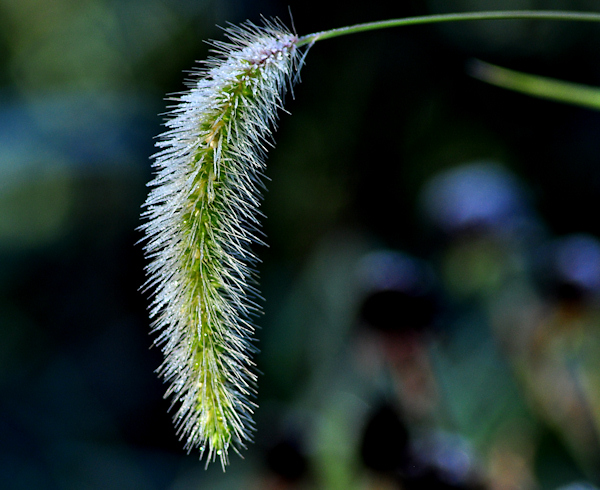
 The weed grasses got ahead of me in a few spots, and they look pretty nice with frost on them too.
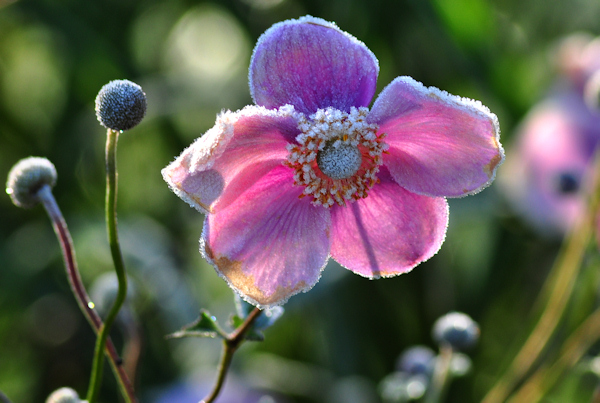
 I have been trying for a couple years to get this pink anemone eradicated from this bed, because it clashes with the other colors in there, but it is stubborn stuff, and so far, this is a battle that I am losing. It does look pretty nice with a ruffly edge of frostiness.
 More helenium.
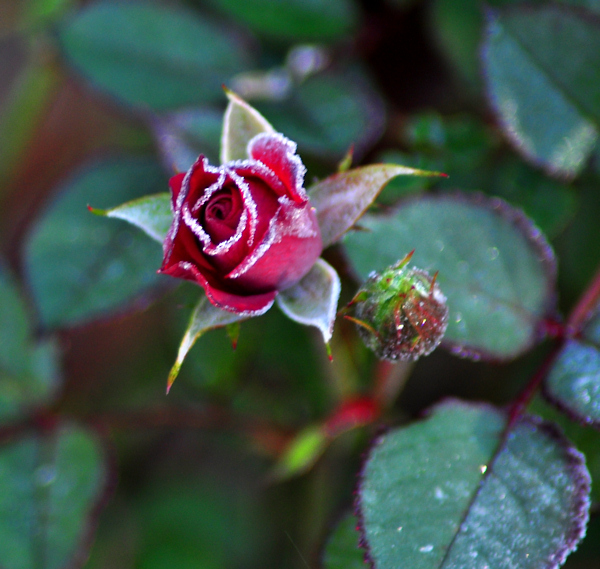
 Every year, I pot up a miniature rose for our front porch, and in the fall, I stick in the garden where it grows happily for a few more years. This is the last rose of the summer, which opened fully later the same day.
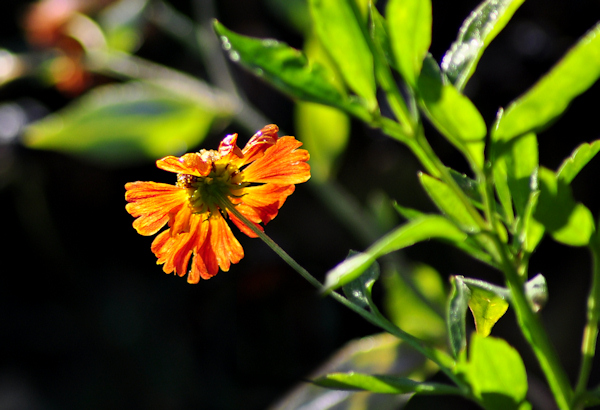
 And finally, the sun hits the last few crumbs of frost, shining through the now transparent flower petals, sending this helenium out in a blaze of glory.


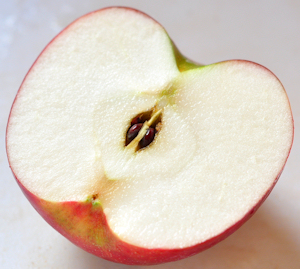 When it comes to baking, this is just a wonderful time of year. Upstate New York is a huge producer of apples and since we are so near the Finger Lakes, prices are great right now. While it may be difficult to improve on the natural goodness of an apple, the abundance we are enjoying definitely gets my culinary wheels turning, thinking of great ways to use them. And let’s face it – a regular old apple just doesn’t cut it if you are looking for ways to add more sugar, fat and carbs to your diet – you need to add a few things for that!
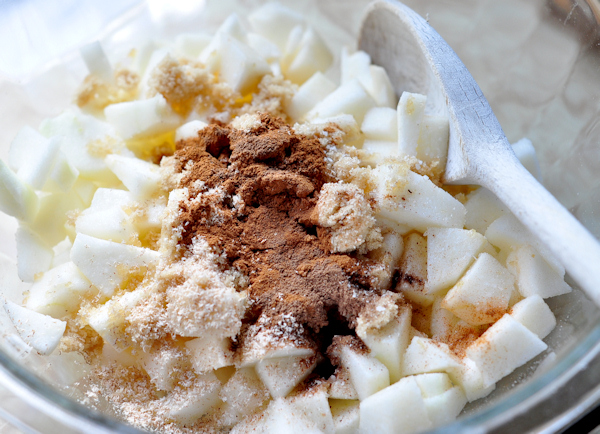
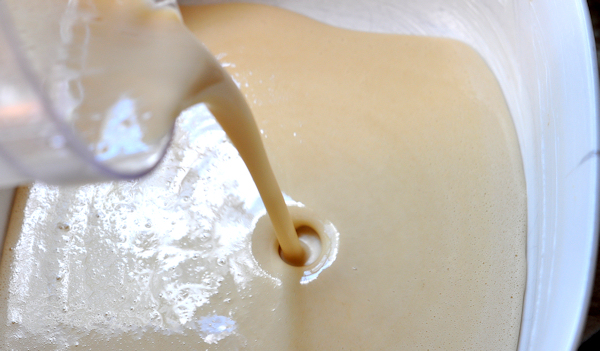 Spoon the apples over the flour mixture, trying to leave a 1/2 inch or so around the edge – do not mix the apples in.
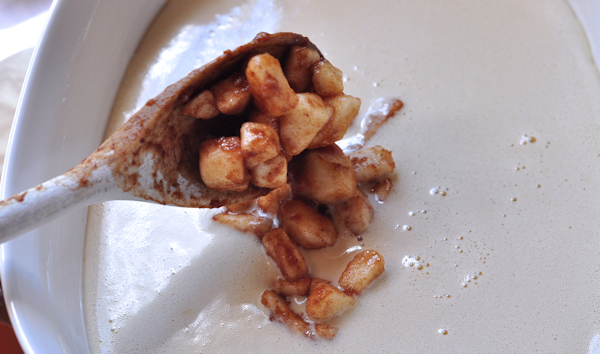 It should look like this
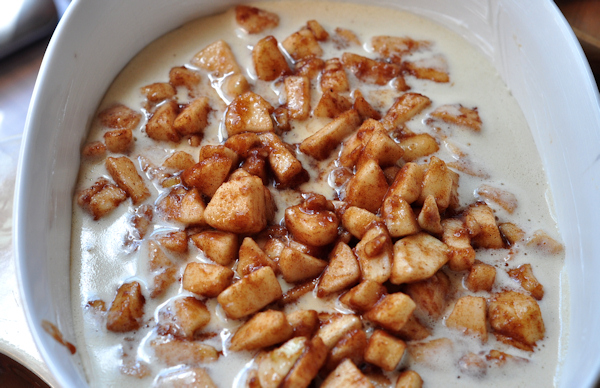 This is optional, but I like to scatter a handful of sliced almonds and an extra sprinkle of coarse sugar [like raw or sanding sugar] over the top.
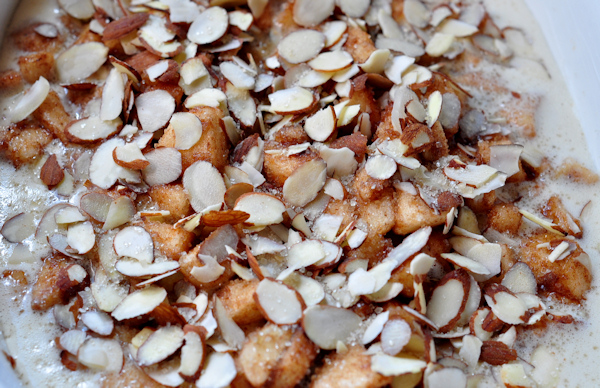 Bake for about 30 to 35 minutes, until the edges are puffy and the center is mostly set.
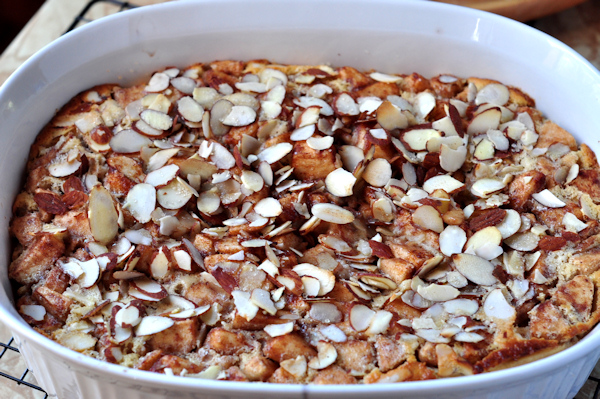 Cool briefly, and serve warm with vanilla ice cream or whipped cream. Yummy stuff!
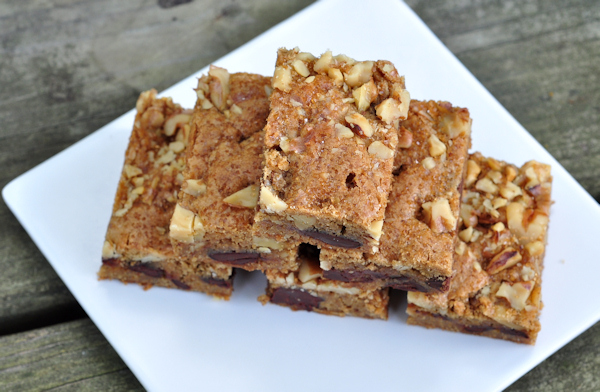 If you are not a fan of chewy, rich blondies, you should probably just skip over this post. Or if you aren’t enamored of the zingy spice of fresh ginger, combined with bittersweet chocolate. Maybe you don’t care for the roasty crunch of toasted walnuts? I mean, I don’t want to keep you here against your will or anything, so I want to be upfront about the incredible delicious flavor of these tasty little morsels of gingery perfection. They are everything I just mentioned above and as soon as we finished up the first batch, I turned right around and made another one. I can’t imagine why I never thought of this before because I love gingery baked stuff, but now that I have, please do yourself a favor and give these a try. That old cliche “you won’t be sorry” doesn’t even begin to cover it!
 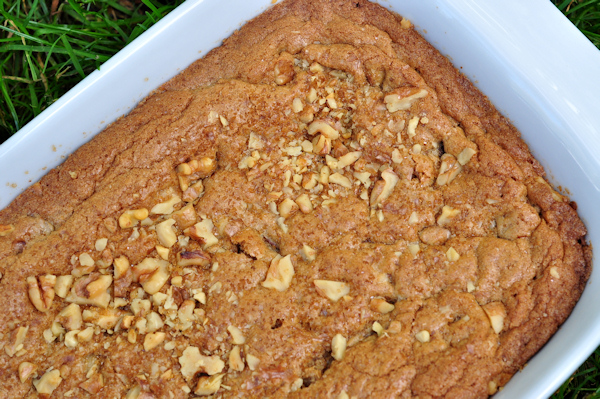 Preheat the oven to 350 degrees and grease an 8 by 8, or 7 x 11 inch baking dish.
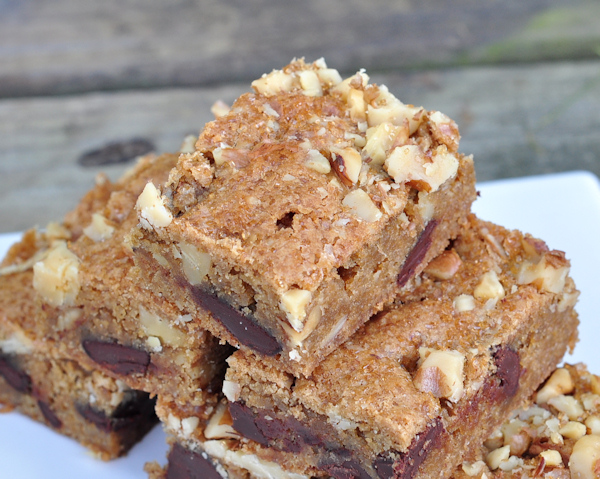 A fitting welcome for the fall baking season!