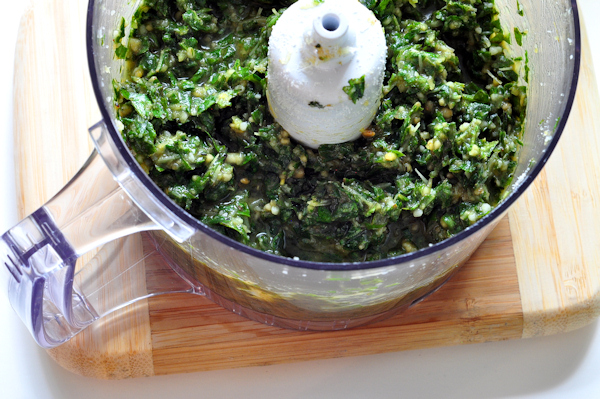
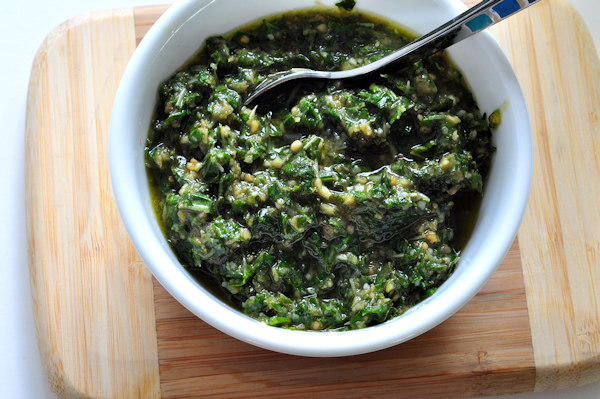
 If you think that you don’t have time to cook a from scratch meal, I submit this recipe as evidence that you do. Along with salt and pepper, there are just 3 ingredients: chicken, tomatoes and pesto. Simple, clean, delicious flavors that can be on the table in 25 minutes. It does take a bit of advance planning, to make sure you have the right ingredients on hand, but you have to do that no matter what you are eating, right?
I make lots of pesto every summer and fall, and get it stashed away in the freezer, where it hangs out cheek by jowl with quart after quart of tomatoes from our garden. If you prefer, you can purchase pesto and canned tomatoes – this will still be so tasty, and super easy. I gave you my recipe and tips for pesto last week, so you can look that up if you like. You’ll need about a pound of boneless, skinless chicken breasts, trimmed of fat, about a pound of fresh San Marzano or Roma tomatoes, or an 16 to 18 ounce can of sliced, stewed tomatoes and a quarter cup or so of pesto.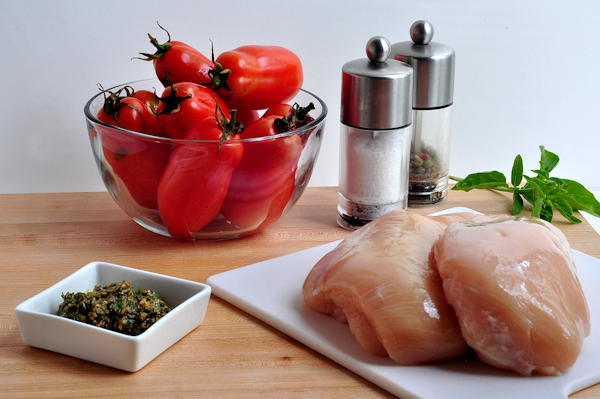
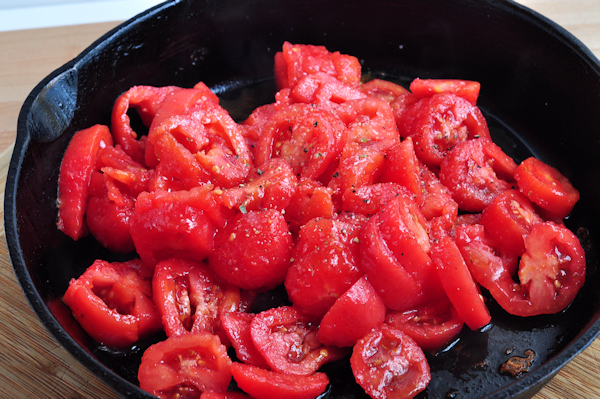
If using canned tomatoes, you don’t have to do anything to them at all. For fresh, I like to blanch them in boiling water for 30 seconds to loosen the skins, dip in cold water to keep them from cooking and to cool them enough so that you can slip the skins right off. Then I just sliced them into a bowl, so that they would be ready to use. Heat a generous glug of olive oil in a cast iron skillet, until it shimmers. You should turn the oven to about 375 at this point as well. Season the chicken breast generously with kosher salt and freshly cracked pepper, and slip them carefully into the hot pan. Make sure you have the top – the presentation side – down first, because the first side you brown will look the best. Don’t move the chicken at all – just let it sit for 3 to 5 minutes, until nicely browned, and turn over to brown the other side for about 2 minutes.
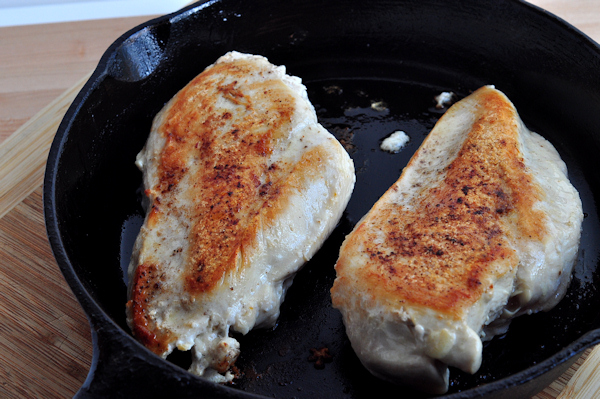 Remove the chicken to a plate, and leaving the pan right on the heat, empty in the tomatoes, and stir around a bit to loosen the tasty browned bits from the pan. Taste the tomatoes, and add a bit of salt if needed. Give it a few grinds of pepper, and a light drizzle with olive oil – about another teaspoon or two.
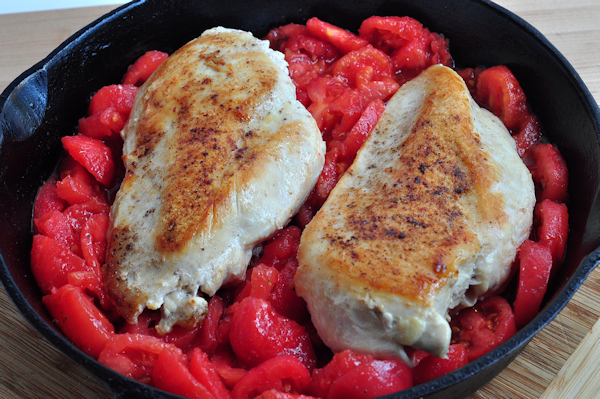
 Arrange the chicken over the tomatoes…
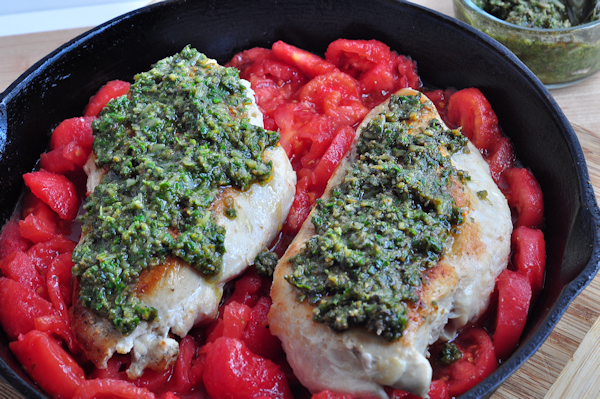
 …and top each piece of chicken with about 2 to 3 tablespoons of pesto. Pop the pan right onto the preheated oven, and cook for about 15 minutes.
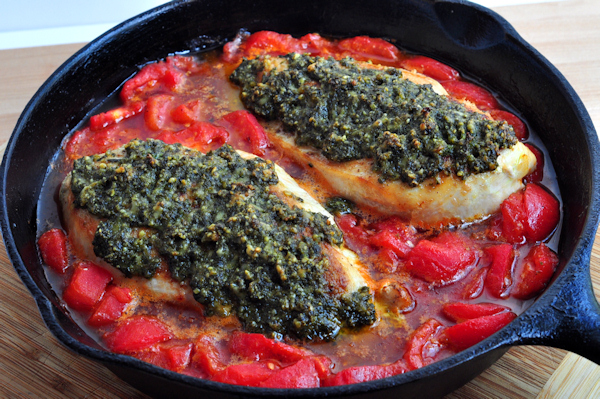
 See all of that luscious sauce in the pan? That is fantastic over rice, or pasta, or my personal favorite, over fluffy mashed potatoes. Add a green vegetable, or a salad you put together while the chicken was in the oven and you have a complete meal in
Notes – you can use an oven-proof saute pan if you don’t have cast iron. If your cast iron pan isn’t a milliom years old, like mine, don’t let the sauce sit in there too long or you might lose the seasoning on the surface. Did you know that cooking in cast iron actually adds iron to your diet? S’truth!


