Yeast bread from scratch is hard, right? Intimidating? Too much trouble? Not in my opinion – nope. Remember my pie-crust-from-heaven Grandma? Well she also made all of her own bread for years. And so did my Mom. I loved my Mom’s homemade bread but I didn’t like taking it to school in my lunch – it looked weird next to the other kid’s Wonderbread sandwiches. Too healthy. Just a little piece of trivia for ya.
Anyway – if I didn’t learn how to make good pie crusts, I at least learned how to make good bread. In fact for quite a few years I made all of our bread. We were hippies, remember? Hippies always made their own bread. And tofu. And wine – from apple cider we made from wild apples. The bread was really good. The tofu was so-so. The wine smelled like airplane glue. But hippies don’t throw stuff away, so we girded our loins and drank it anyway.
Here also, is a little hint from our hippie days. Do not store winter squash and pumpkins in the empty bedroom over the kitchen. The one with the cold air return that goes down to the kitchen where you are hanging out with all of your other hippie friends on the evening when those squash and pumpkins finally succumb to the the inevitable effects of being stored where it is too warm for them. We weren’t detail people, ok? We were on the other hand, alerted when the inevitable happened – the cold air return made sure of that.
That little adventure is not entirely unrelated to this recipe since it was about squash and so is this recipe. I try to maintain some sense of cohesiveness in my posts after all. I wanted to use up some of the 90 gazillion pounds of squash I have laying around here this fall and I knew you could use a variety of liquids to make bread, so why not squash? Well – let me tell you; this is an inspired idea that far exceeds the apple cider wine. And making bread is not hard at all – I promise that this will be just the first of my bread making lessons.
The line up of ingredients – see? Ridiculously easy.
1 & 1/2 cup of pureed winter squash [pumpkin will work well too]
2 eggs
1/3 cup light molasses
1/4 cup melted butter
1 packet fast-acting yeast
1 teaspoon salt
1 teaspoon ground cinnamon
About 5-6 cups all purpose flour, divided
[we’ll get to the filling ingredients later]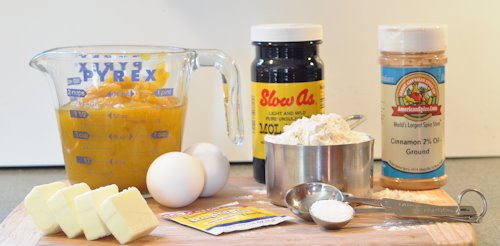 Mix together the wet ingredients – the squash, molasses, eggs and butter. Use a whisk and mix in the yeast, salt, cinnamon and 2 cups of the flour. You don’t have to disolve the yeast – just mix it right in there. Stir for a couple minutes – this develops the gluten which is a good thing in bread.
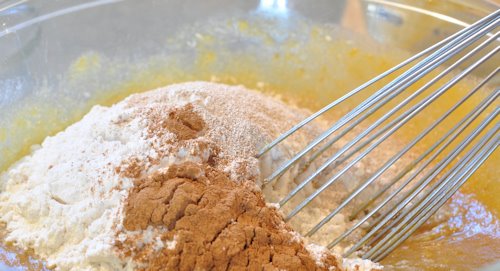 Switch to a rubber spatula, wooden spoon or some other biggish mixing implement and mix in another cup of flour. When that is thoroughly combined, mix in a 4th cup and get that incorporated as much as you can without your arm falling off.
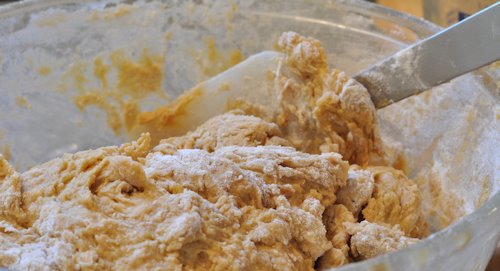 Flour your work surface generously and scrape all the dough out of the bowl. It will be kind of gnarly looking at this point and pretty sticky. I think this is where people start to feel like they don’t know what they are doing, but never fear. It is just bread. Even if you totally screw it up, it’s going to be pretty good. There are two things you want to accomplish – to incorporate the rest of the flour and to develop more gluten in the bread which will give good structure as it rises. It is going to be sticky, so keep a good amount of flour on your hands all the time and on the dough where you are touching it. [see just below for the method to do the kneading] If it starts to stick to your hands, sprinkle more flour over it and rub your hands together to get all the dough off them – just knead it back in.
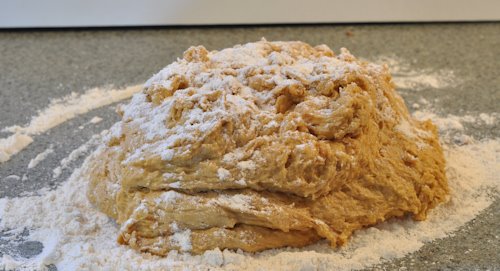 Keep adding flour about 1/4 cup at a time and knead each addition in completely. You do that by pulling the back of the dough forward, turning 1/4 turn and pulling the back forward again and then kind of shove it downward to press it together.
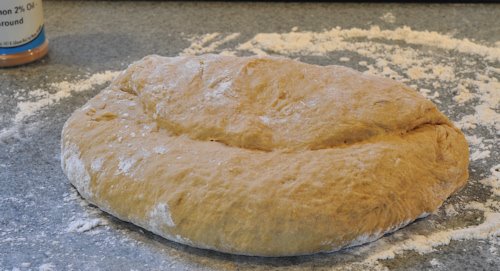 Quarter turn, pull back edge forward and push,
 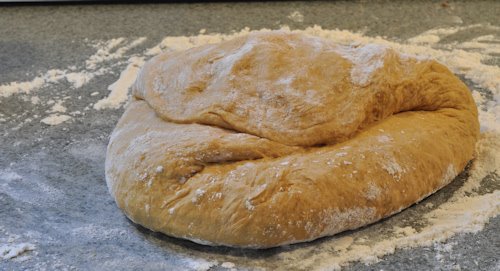 Quarter turn, pull back edge forward and push,
 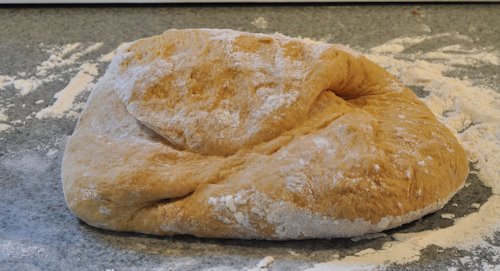 And so on, adding more flour as needed to keep it from sticking to you or the counter.
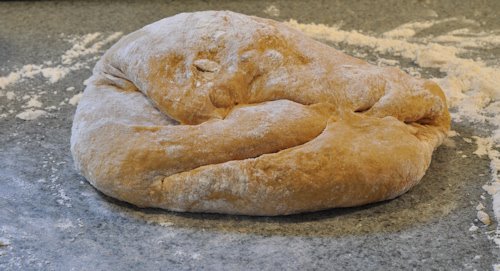 In about 7 to 10 minutes it will look like this – pretty smooth and uniform. I have heard people say that if you pinch your earlobe between your thumb and forefinger, it feels the same as pinching a piece of the dough should when it is ready. I have too many holes in my ears for that to work for me though. It really does just take practice and if you stop a minute and a few tablespoons of flour too soon, it will not be end of the world. Bread=easy, remember?
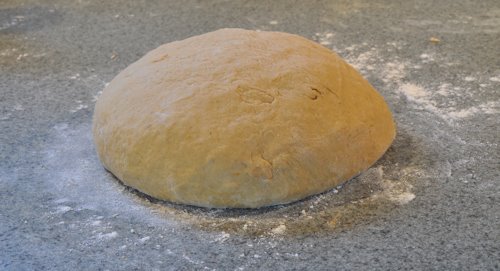 Put a couple tablespoons of vegetable oil in the bottom of clean bowl that is about 3 times the size of the dough at this point. Put the dough in and turn it over and over to coat it completely with oil, cover with a towel or plastic wrap and put in in a warm place to rise.
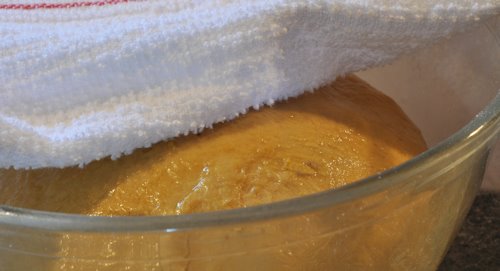 While it is rising, you can mix the cinnamon swirl ingredients:
3 tablespoons softened butter
1/3 cup light brown sugar
1 teaspoon cinnamon
1/8 teaspoon salt
In 90 minutes or so – the dough should look like this – risen and light.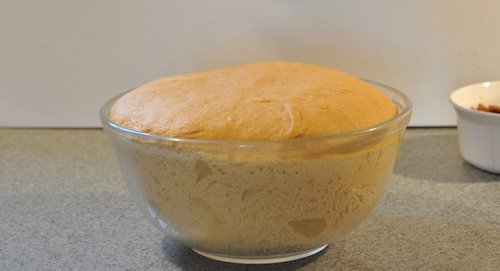 Dump it out on the counter and briefly repeat the kneading sequence for a few minutes until it is a nice smooth ball again.
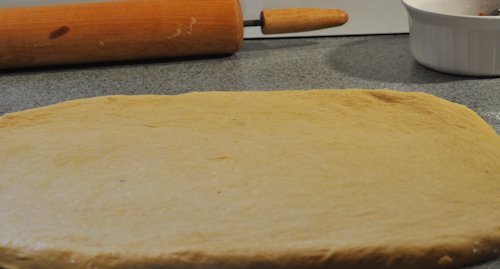
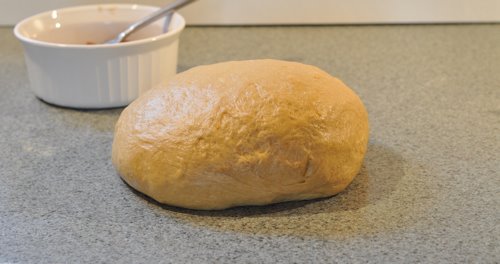 Roll it out until it is flat and uniform in thickness. I realized awhile ago that this was going to be too much bread for one bread pan but not really enough for two, so I decided to go for a rustic, freeform loaf that I will bake on a baking sheet. I rolled out the dough to about 12 inches by 18 inches.
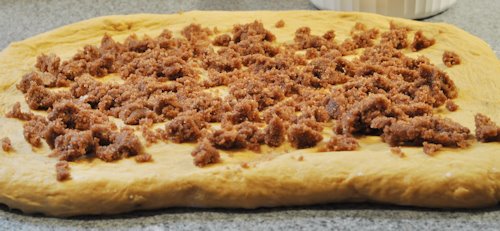
 Scatter the cinnamon -sugar mixture over the dough. I was guessing when I made this and ended up with a little too much – I adjusted the amounts listed above down a bit, so it will look like a little less filling than this.
 Roll up the long way and pinch the edges together to seal them.
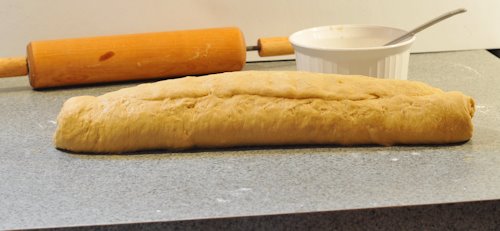 Tuck in each end by about 3 inches and pinch those edges together – underneath and along the sides and then pat it out nice and smooth again.
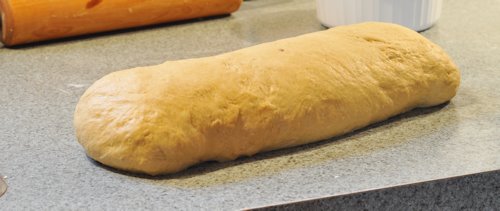 Place on the baking sheet which is either very well greased or covered with a sheet of parchment paper.
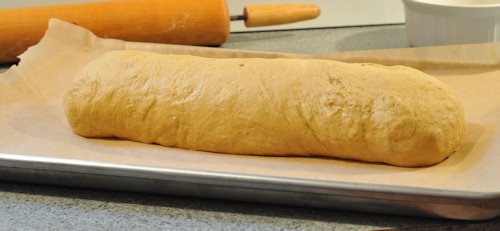 Brush the entire top of the poaf with melted butter and place in a warm place to rise again – until it is just about doubled in size. Bake at 350 degrees for about an hour – until it sounds hollow when you thump it and it is very well browned over the top and sides. Brush once again with melted butter and set on a rack to cool.
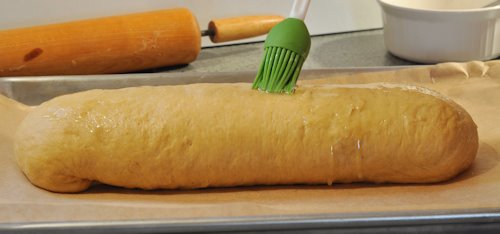 This is rustic and free form. And it had a little too much filling which caused it to spread out a bit more than I would have liked.
 I will learn to live with it though – for a couple days anyway. It is so delicious – the squash gives it a richness and depth of flavor that regular cinnamon bread doesn’t have. It is irresistable.
 I will do another bread recipe soon – one that will show you that making bread is all about the proportions of the ingredients and how easy it is too make bread using what you have on hand. Let me know if you give this recipe a try – I hope you like it!


wow…I am in awe of your baking talent. I think I can smell the cinnamon waifing through the air…
I am so not sure that you could have too much cinnamon sugar in that … gads it looks YUMMMMMY I have no left over squash but I used to make all of our bread too… I LOVE the smell of baking bread…and real butter to put on it when its still warm… OHHHH DROOL!
Oh that looks awesome…I think I’m going to have to do it..yep. I have to.
I bet Dad was a happy camper.
I’m imagining 2 thick slices of these cinnamon swirls with a cup of aromatic latte! What a way to start the day! :)
YummmO!
Your bread looks so hearty and tasty, it rose beautifully! I can never get my yeast breads to rise that well. Great way to use up the squash :). I’d love to include your recipe on our blog, please let me know if you’re interested!
Sophie, Key Ingredient Chief Blogger
sophie@keyingredient.com
Pingback: Anadama Bread – dlyn
Pingback: Winter Squash Sandwich Bread | dlyn
Pingback: Anadama Bread - Step by Step, Making Yeast Bread | The Creekside Cook