Back in a few days, folks. Hope you have a good weekend. :)
Taking a little break
Pomegranate Applesauce
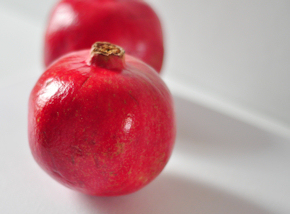 Pomegranates. Yummy. Those two words seems to go together very well – at least in my mind. We have enjoyed them for years, even when they were a lot more expensive in the store than they are these days. Larry likes them so much, that I don’t usually get a chance to actually use them in cooking, because he makes such short work of them. I picked up a couple extras last week though and told him to keep his mitts off , so that I could make this.
This is a half peck [about 5 pounds] of orchard-run Cortland apples. Orchard run means they are aren’t sorted to get rid of any with flaws, and you get a wide variety of sizes in one bag. They are cheaper than the sorted ones, but if you don’t have any orchards near you, apples of all kinds are pretty cheap right now, so you can stock up on some extras to make this luscious sauce. You can use just about any kind of apple to make applesauce, or any combination of varieties. It is the perfect way to use wild apples too, which might not be so great to look at, but often have a more complex flavor than the domesticated offerings. Today, we are using some nice fresh Cortlands though – still pretty firm and tart, so I left half of them out at room temperature for a couple days to sweeten up just a bit.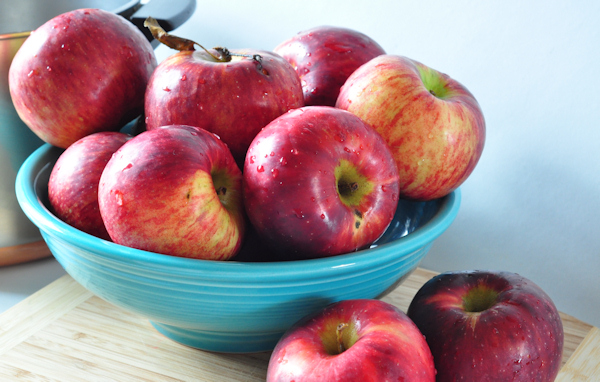
You do need one special piece of equipment for this particular method of making applesauce, and that is some type of food mill. This is mine.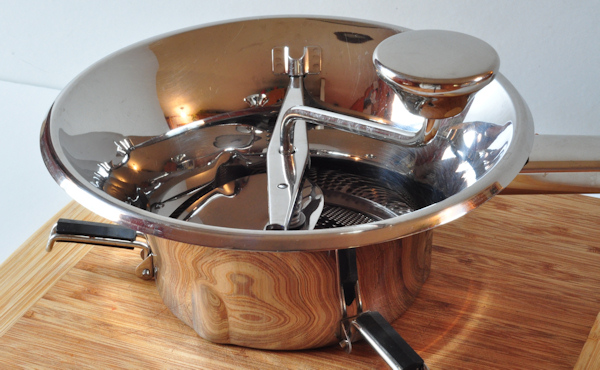 It is a MUI, and while I will admit it is not cheap, it is a kitchen essential as far as I am concerned. I use it a lot – for my canning and freezing in the fall, for various sauces and soups, and mashed vegetable dishes all year long. You can use it to make baby food, jams and jellies, spaghetti sauce from fresh tomatoes and tons of other stuff. There are cheaper ones on Amazon as well – just click that link and then do a search “food mill” and you will find a lot of choices. Using a food mill to make applesauce means you don’t have to peel and core the apples either, which saves time, not to mention nutrients and a lot of flavor. Enough chit chat though – lets make some applesauce!
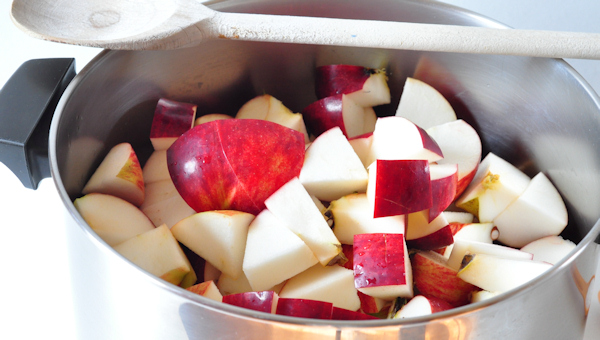
Wash the apples and cut into big chunks.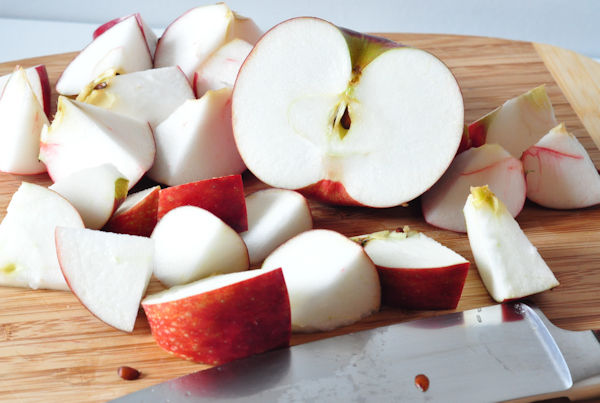 Dump them all into a big pot – this one is 8 quarts and it was just right for this amount of apples. If I am doing a bigger batch of sauce, I just keep adding more apples as they cook down. Add 1/2 teaspoon of kosher salt, 1 tablespoon of cider vinegar and a couple tablespoons of water. Simmer on low, stirring often while they get hot. Once the apples really start to cook, and give up some juice, you can raise the heat a bit to hurry them along. You will still need to stir them every 15 minutes or so.
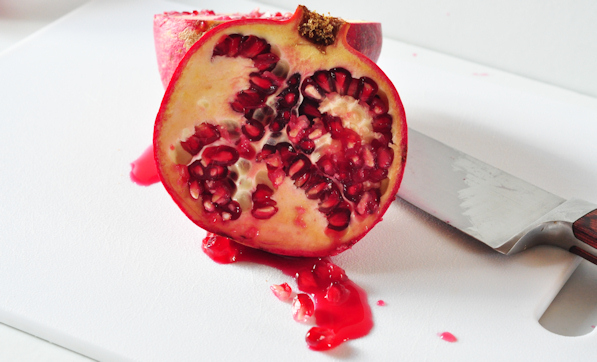
 In the meantime, prepare the pomegranates. Cut them in half from end to end.
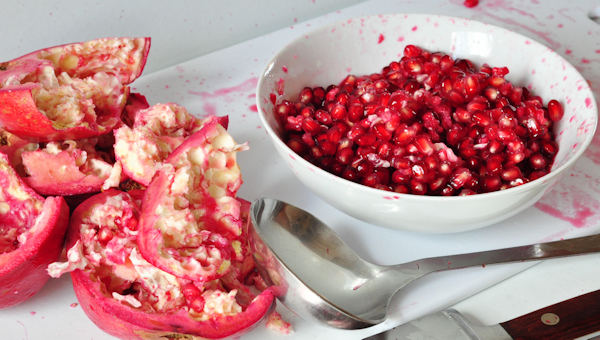
 Place the half, cut side down in the palm of your hand, hold it over a bowl, and smack it repeatedly with a heavy spoon of some kind. This is messy, so make sure you wear an apron or old clothes, and protect any stainable surfaces with newspaper or something. Just keep working around the entire outside and gradually, all of the little fruit covered seeds will drop out. You may need to pull out some of the pith to help it along. It took me less than 5 minutes to empty all four halves. Discard the pith and skins.
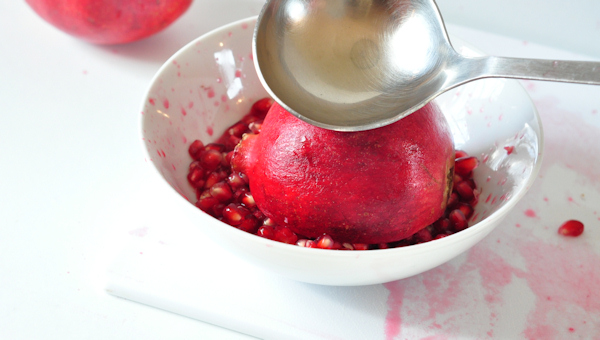 I did mention that it is messy, right?
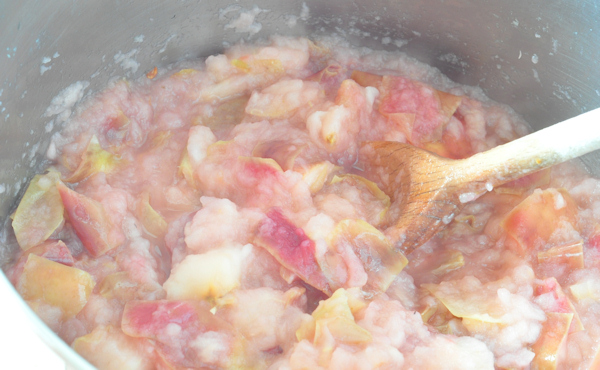
 Here are our apples, after cooking for about 30 minutes.
 Dump in the pomegranate bits and stir them in.
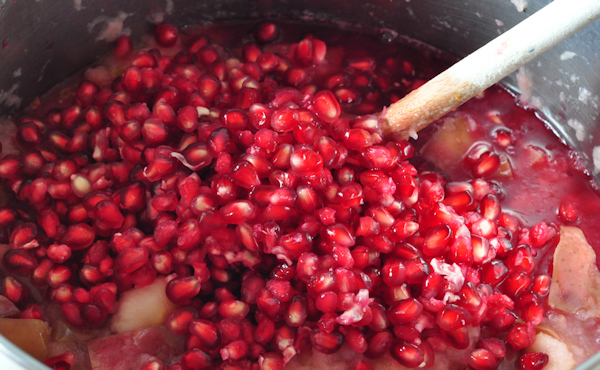 Cook another 30 minutes or so, until the apples are completely broken down. Having the apples totally soft ensures the final sauce will have a silky smooth texture. Let this cool for about 20 minutes or so. You can do the next part right away, but hot apples splashing on your hand while you run them through the food mill is going to feel like molten lava, so waiting a few minutes is worth it.
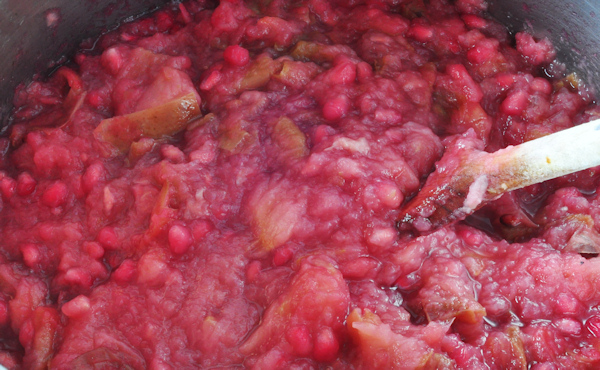 Spoon the fruit into the food mill, until it is about 1/2 full.
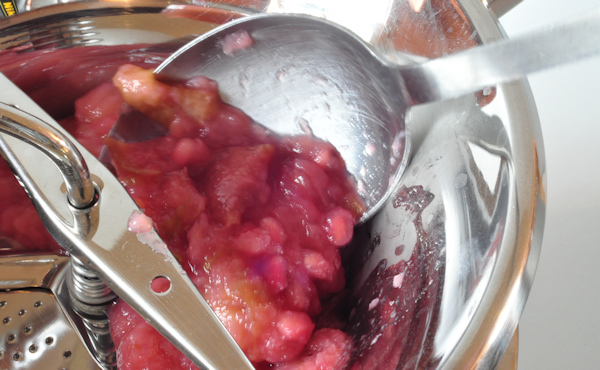 Hold the handle firmly as you turn the crank – the seeds are going to offer a bit of resistance as the paddle passes over them and if you don’t hold on tight, it can slip out of your hand. [possibly spilling your applesauce to be all over the place. or so I’ve heard.] Keep turning the crank, occasionally reversing it for a couple turns, until you just have pulp left.
 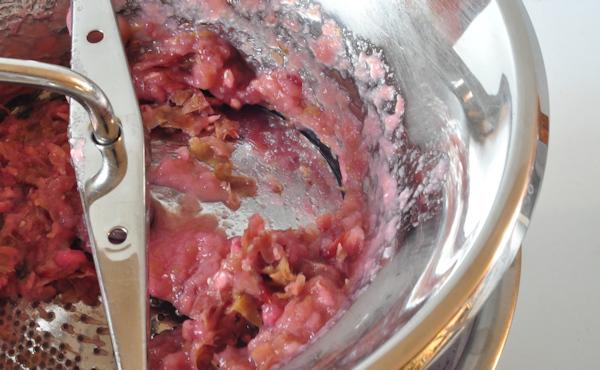 This is all the pulp from this batch – less than a cup all together.
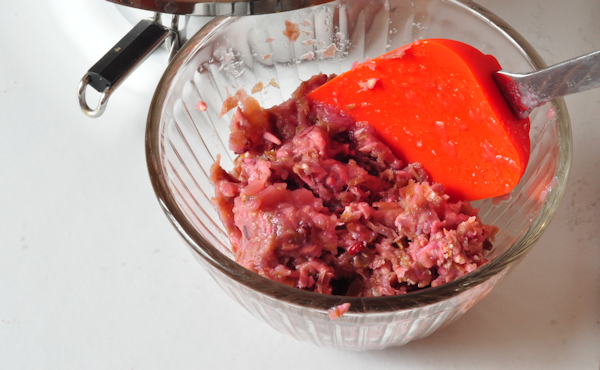 You can season it to suit your own preference. I added a teaspoon of strong ground cinnamon and a tablespoon of raw honey. I love honey in applesauce – such a subtle, but rich flavor note, and you need less to have the same sweetness as sugar.
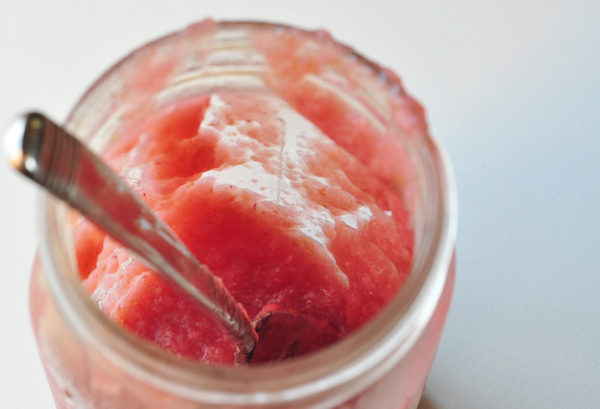
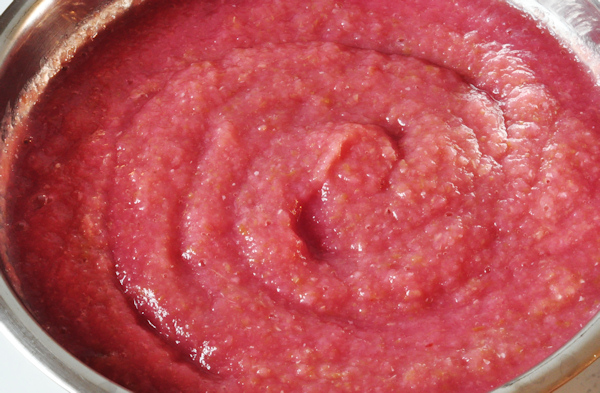 The pomegranates add a gorgeous rosy color and a sweet-tart flavor, as well as some antioxidants and vitamins.
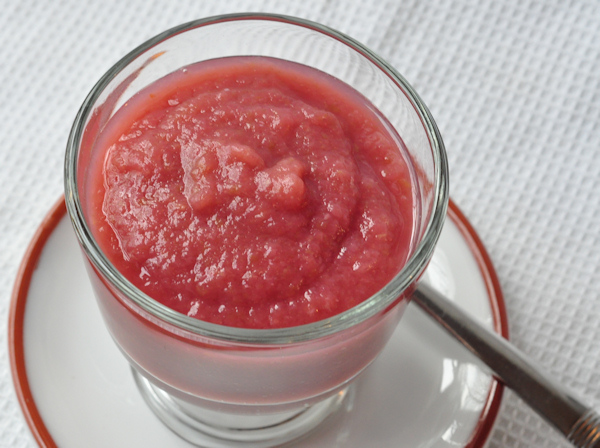 I got about 10 cups of sauce. You can freeze it if you like. It will keep in the fridge for about 5 days. It is great for baking, as you will see here next week. If it lasts that long…
Another post you may enjoy:
Whole Wheat Applesauce Muffins
Why I usually take photos of flowers and muffins
A woman has to know her limitations. There are photographers who can take great shots of people, specifically posed shots of people, but I am not one of them. I can’t practice this skill on Larry, due to his propensity for making rude gestures when I try to take photos of him. I can take good photos of Riley, because he is bribable. Larry does take bribes, but his preferences in this area have a tendency to interrupt the photo session and that is just not helpful at all. To me, I mean.
There are some other people I like to practice on occasionally however. I was all holier-than-thou about bribing my own kids when they were growing up, but I am totally okay with bribing these two. I think it is actually required that I engage them in activities that are just slightly off center from their parents’ plans for their overall enrichment. So, when they were here last week, I suggested that we work on Grandma’s photo taking skills. I may have mentioned the bag of sugared gumdrop fruit slice thingies I had on the counter. They were all a bout that!
“Can you guys try to smile for me?” “Okay – Anna! Look at me!”
 “Good Anna! Now, Mark, you look at me too!”
 “Thant’s nice Anna – now look at Grandma again!”
 “You guys are doing great! Isn’t this fun! Okay – hold still now!”
 In five minutes, I took about 80 frames. Here is the pinacle of photo acheivment for the day:
 Things kind of went downhill from there. Anytime Anna’s nose is running, she very helpfully points to the problem and says, “Snot!”
 I did wipe it for her, but apparently I missed something.
 Right around that time, they decided that 4 minutes and 27 seconds was plenty long enough to sit still for one lousy piece of candy, so we were done.
  I can still get a good one once in awhile.
Butternut Squash Gratin
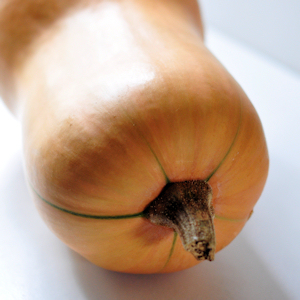 There are so many ways to use winter squash, and I never get tired of looking for new ones. The fact that we still have about 40 winter squashes of various types is certainly an influence on my thinking, I’ll admit, but even if I had to buy them, I would still enjoy finding new ways to cook them. For one thing, they are very inexpensive right now, especially as an end of season bargain at Farmer’s Markets and local veggie stands. Even if the grocery store is your only option, you will often find them on sale this time of year. I used butternut for this gratin, because the smooth sides make it easy to peel and slice evenly. And even though butternuts are a very common variety, their rich flavor is always welcome.
This is a free-form preparation, rather than an actual recipe. I used a squash that weighed about 3 & 1/2 pounds, though I didn’t need to use all of it – just the neck part, and I used a 3 quart casserole dish. The amounts of everything else are approximate, and can be varied to taste or what you have on hand. Begin by peeling the squash, and then cut it in half from end to end and slice the solid neck portion in about 1/4 inch slices. [you can scoop out the seeds from the bulb end and roast it, saving for another use]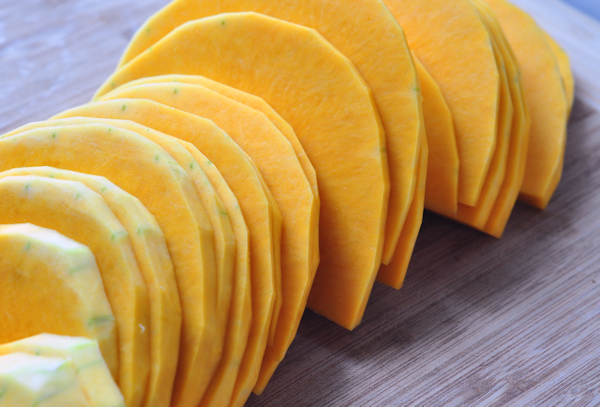 Melt a couple teaspoons of butter in a saute pan, and add 1 large celery stalk, cut in thin slices, and 1/2 of a medium onion, also sliced thinly. Sprinkle with a generous pinch of kosher salt, and cook for about 5 minutes, remove from heat and stir in the leaves from 3 or 4 good sized thyme sprigs and a small garlic clove, roughly chopped.
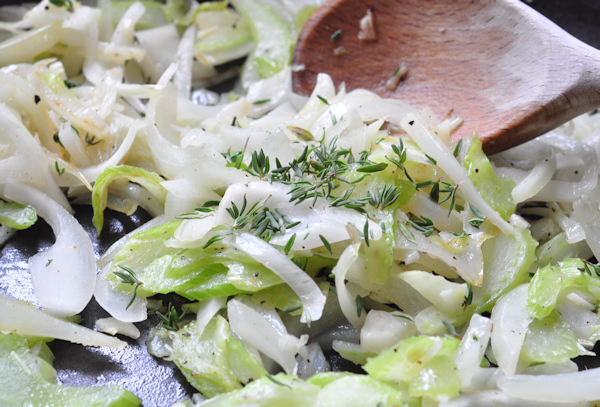 This is a layered dish, so begin by oiling the casserole dish, and covering the entire bottom with a layer of squash slices, lightly sprinkled with kosher salt and a few grinds of fresh pepper. Spoon 1/3 of the onion/celery mixture over the squash. Sprinkle about 1 tablespoon of all purpose flour over the vegetables and dot with about a teaspoon of butter, cut in small pieces. Then sprinkle on a generous amount of grated Asiago cheese – about 2 ounces. Repeat two times, so that you have 3 layers of squash, each topped with a layer of onions and celery, flour and butter, and cheese.
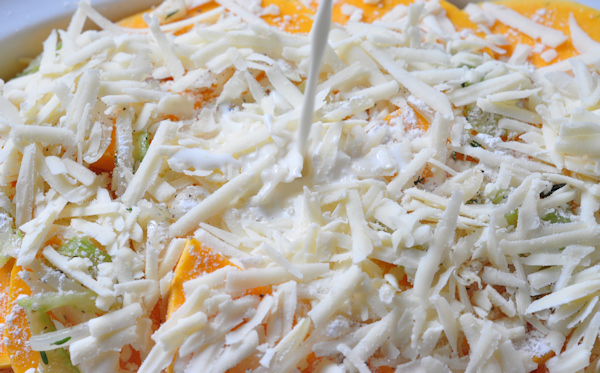
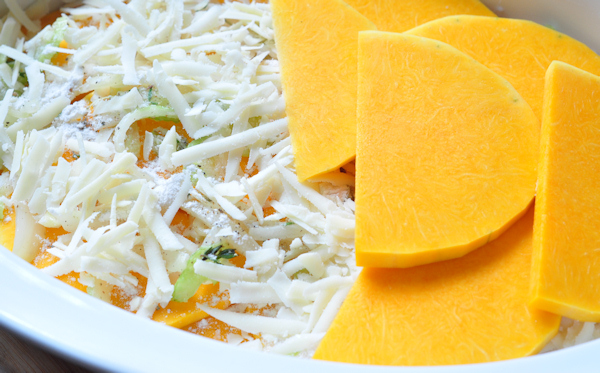 Finally, slowly pour 1 cup of half and half over the top, in the process, trying to wet as much of the top surface as possible.
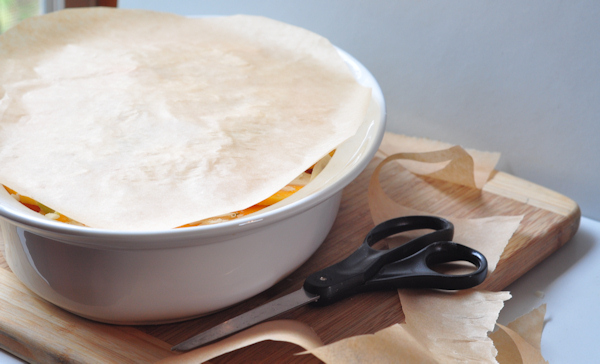
 Cut a piece of parchment paper to fit over the top of the ingredients, and lay it flat on the top, pressing down on it slightly to compact everything a bit.
 Bake at 350 degrees for about 40 minutes, and remove parchment paper. Return to oven and continue baking until the squash is soft and the top is nicely browned – about 20 minutes or so more. It may take a little longer, depending on the age of the squash, so be sure it’s done before you take it from the oven.
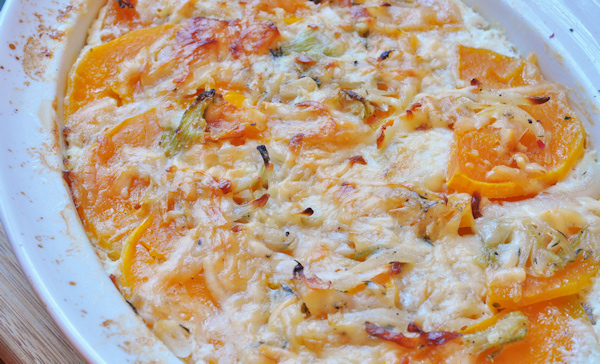 Allow to cool about 10 minutes before cutting. This is great as a side dish for roasted pork or chicken, and it would be great for Thanksgiving dinner. The salty sharpness of the Asiago is a perfect contrast to the sweetness of the squash and the thyme gives it a wonderful green note.
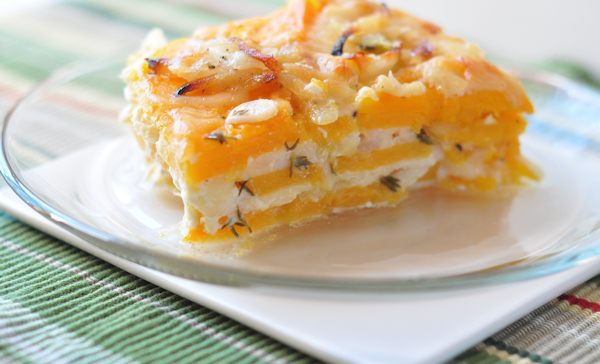 And what could be prettier than those lovely layers? Enjoy!


