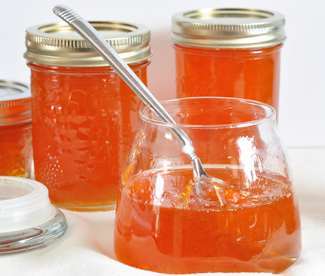
 Marmalade. It sounds civilized, evoking images of proper British ladies, taking tea, eating little crustless sandwiches, with their pinkie fingers daintily crooked up as they sip. Or, if you are like me, it evokes sitting at breakfast with our grandparents who lived next door, having orange marmalade on Grandma’s homemade bread, while she sipped coffee from her saucer [she always poured coffee from her cup to the saucer to cool it off – she had learned it from her Mother, she said], and gave me a sip when I begged effectively enough. I mentioned to my sister that I was making this yesterday and she said “Yuk!”. Her memory is the same as mine, with the exception of how she felt about the marmalade I guess. I found the sharpness and bitterness and nice contrast to the sweet part, but she found it unpleasant, and always asked for something else.
The other memory of marmalade I have is from an episode of “Columbo” with Peter Falk, where a murder suspect sends orange marmalade to Columbo’s wife. In a effort to distract him from figuring out she murdered her husband, she poisons the marmalade, reasoning that he will be too grief-stricken by the loss of his wife to remember all the evidence he had gathered. It didn’t work of course – that Columbo was one smart cookie.
A lot of trouble, but worth it?
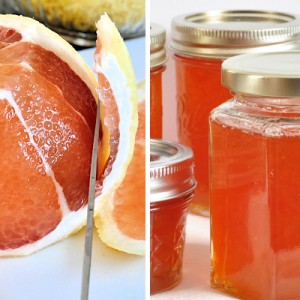
I can tell you that making marmalade is no walk in the park. Not a day at the beach either. What it is: a huge pain the butt. Also worth every bit of effort, though you might wonder about that more than once while you are making it. It takes two days by this method, because the fruit has to steep overnight. A lot of recipes tell you to peel the grapefruit, then remove just the colored part of the skin from the pith and julienne it. Gah. I though I would try my zester instead – not the microplane though. You want the rind to retain some texture in the final result and a microplane just won’t do that. The zester, on the other hand, gives you nice little strips of skin, but leaves the pith behind. You want to get all the rind off 3 large pink grapefruit – make sure you wash and dry them first.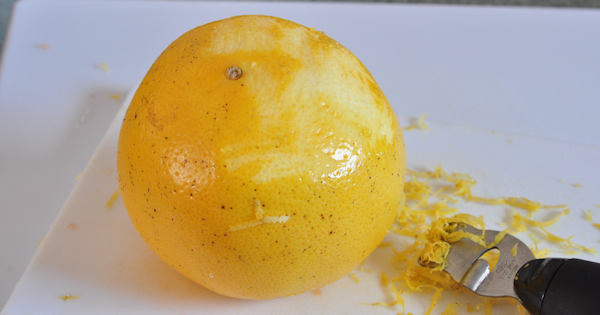 Then, you need to peel off the white part. This probably sounds harder than it actually is. Cut off the ends, exposing the ends of the segments. Working from top to bottom, cut the pith off in strips. After the first piece, it is easier to follow the contour of the fruit. A very sharp knife will also make things a whole lot easier.
 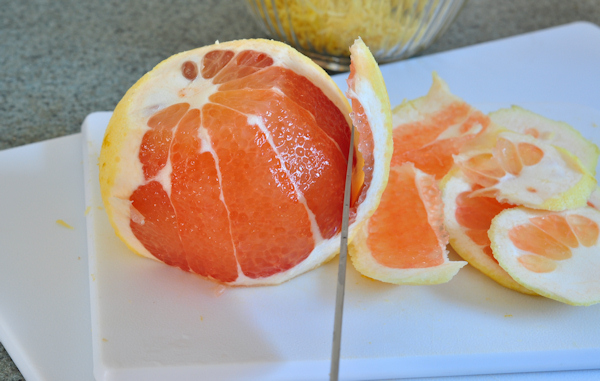 Once all of the pith is completely gone, you are going to remove the fruit from between the membranes. Once you get the hang of it, it is not difficult, just rather tedious. And all but impossible to do and photograph at the same time. Again a sharp knife is a very good thing to have – I ran mine over the steel after each grapefruit. Squeeze all the juice from the remaining membranes, as well as from the pith, where bits of fruit get left behind.
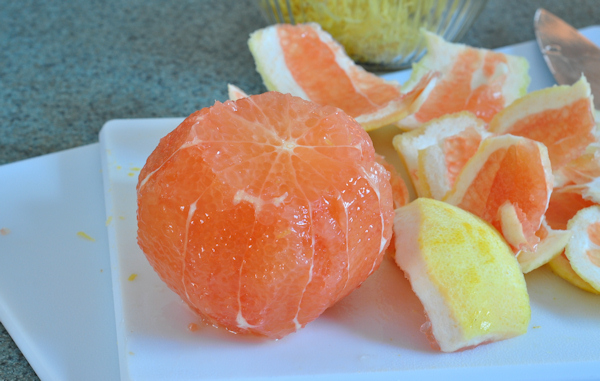 You will end up with a bowl containing the fruit and juice, and one with the strips of rind – both from 3 large grapefruits.
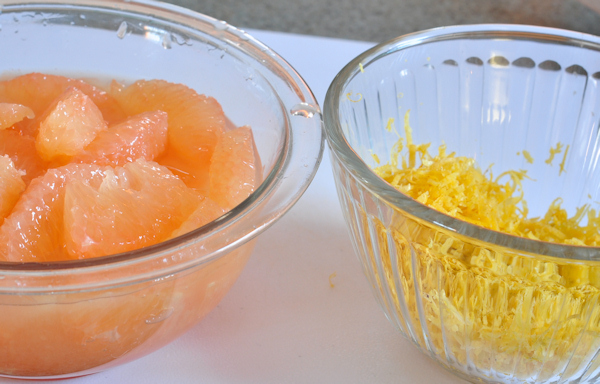 Empty both bowls into a stainless steel pan – at least 3 quart, as later on this is going to foam up a bit and you want a pan large enough so that it won’t boil over on you. Add two cups of water, bring to a boil, lower hear a bit and simmer for 20 minutes. Remove from heat and leave overnight in a cool place – I put mine in an unheated spare room. You can put it in the refrigerator as well, though it is not really necessary.
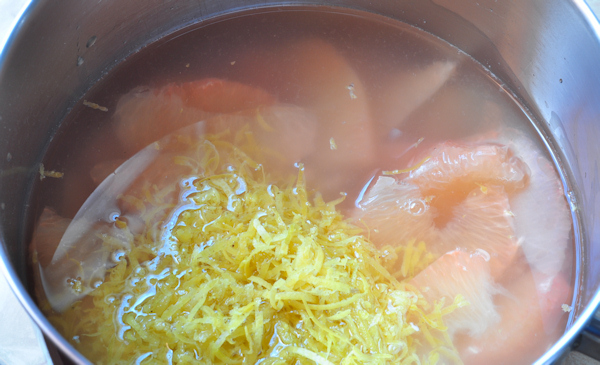 The next day, add 4 cups of granulated sugar, and bring up to a boil. Stir every 5 minutes or so, and leave at a low boil until a candy thermometer registers 220 degrees. [Completely forget to take any photos of this at all – it will make your life more interesting later on when you can’t believe you actually did that. Sorry.] This took nearly 40 minutes on my stove. I also double checked that it would set up by keeping a small plate in the freezer, and pouring out a small spoonful on it. Give it a minute and then nudge it with the tip of your finger – when it is ready, it will show a little bit of a wrinkle on the top surface, and be nicely thickened. You don’t want marmalade to set up like jelly made from something like grapes will – it should still have a slightly liquidy quality about it, so don’t let it cook too long.
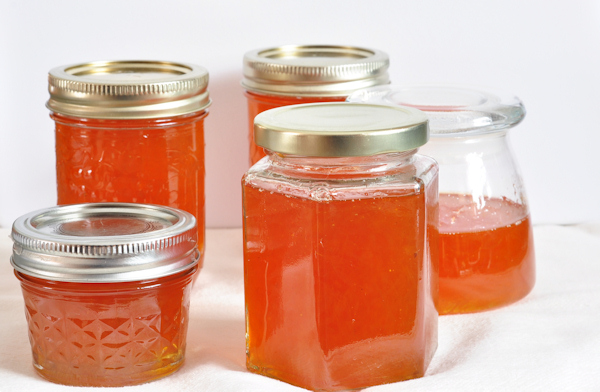 Ladle into clean jars. If you plan for long term storage, boil the sealed jars by the water bath method for 10 to 15 minutes, remove from the pan to a towel set on the counter and allow to cool for 24 hours before storing – you should hear a nice sharp pop from each jar as they cool. You can remove the rings to use over – they can be difficult to get off if they sit for a long time. I didn’t proccess mine though – I am giving most of it away and the two jars we are keeping will keep for months in the refrigerator. That is – they would if they were around that long. That is theoretical though – not something that will ever get proved around here.
And on my own freshly toasted homemade bread, it tastes like something Grandma would really enjoy. With a saucer of coffee.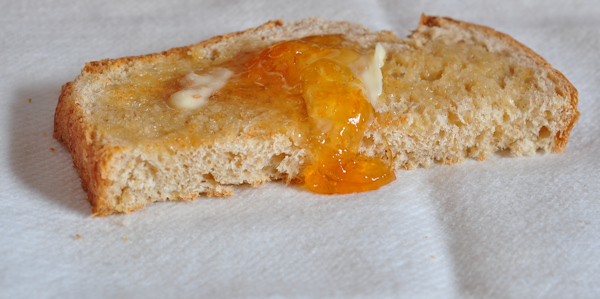


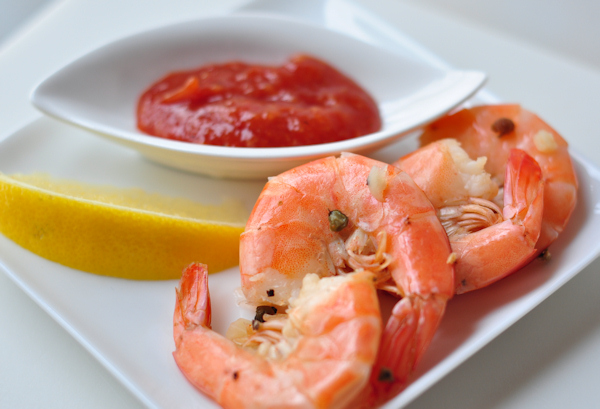
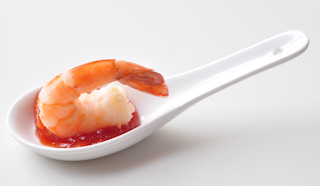 Why do you need a recipe for Shrimp Cocktail anyway? You can just buy one of those big ring things with their neatly arranged shrimps surrounding a bowl of red, kinda spicy sauce, right? Hmmmmm. No thanks – not my idea of tastiness. There is nothing wrong with frozen shrimp actually. It is frozen almost immediately upon being caught and unless you live very close to the ocean, any fresh shrimp you see in your store has every likelihood of actually tasting older than thawed frozen shrimp will. It may have even been frozen, before they thawed it and layed it out all pretty on the ice with the fake parsely separating it from the “fresh” whateverelse is in the fish case that day.
 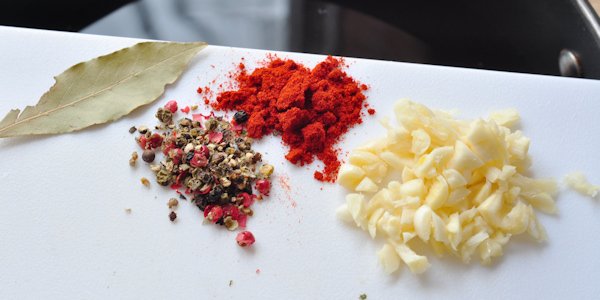 For a quick cocktail sauce, mix ketchup [about 1/2 cup per pound of shrimp], prepared horseradish to taste, a good squeeze of lemon, a squirt of siracha hot sauce and 1/4 teaspoon of smoked paprika. Stir and chill.

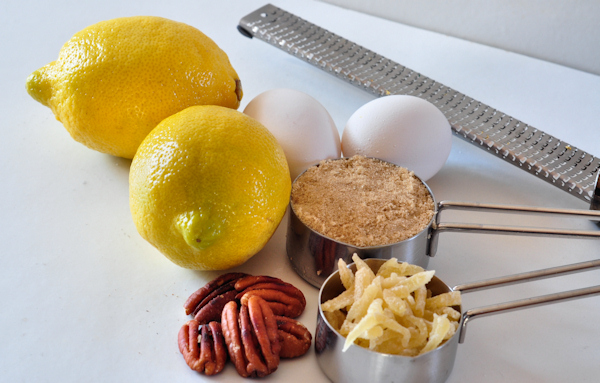
 But – we get tired of just eating snow all the time, so I decided that citrus is about as seasonal as we are going to get. Lemons to be exact. And the candied ginger for these is local – it was in the pantry, which is right next to the kitchen. The pecans were local for Lauren and Steven – they picked them up in the neighbor’s yard before they came up in December – and now local for us as well, since they were in the pantry, right near the candied ginger.
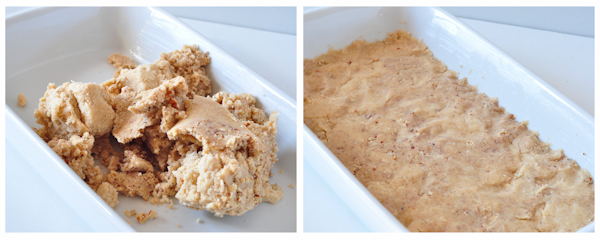
 Preheat the oven to 350 degrees, and grease an 8×8 inch or equivalent [mine is 10×6] baking dish or pan.
 In the meantime, whisk together
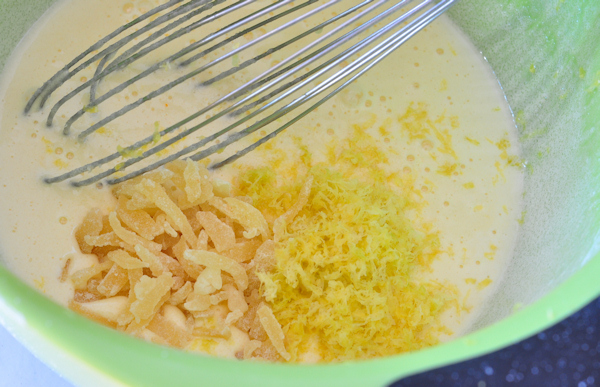 Take the baking dish out of the oven and carefully pour the egg and lemon mixture over the top. The ginger will try to all come out at once, so you need to keep it stirred in and make sure it gets evenly distibuted.
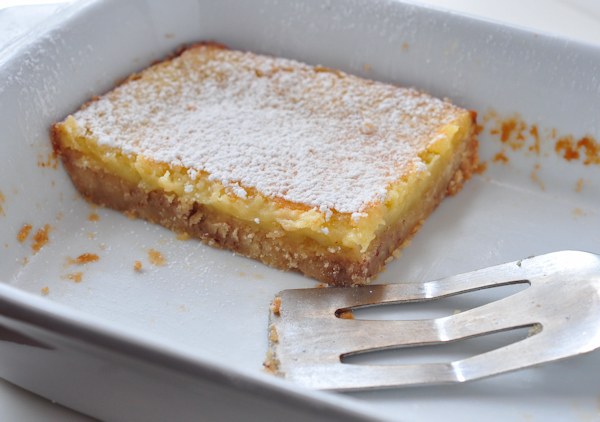
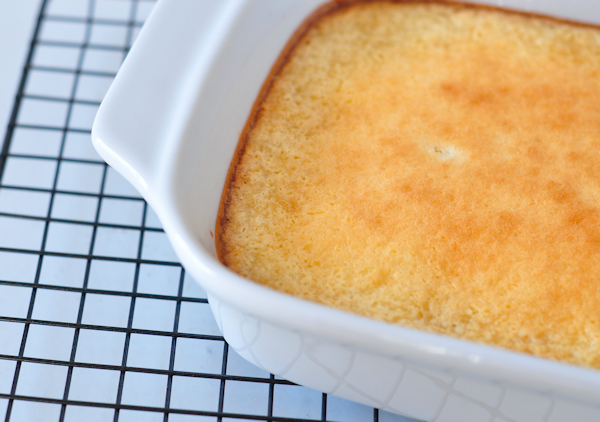
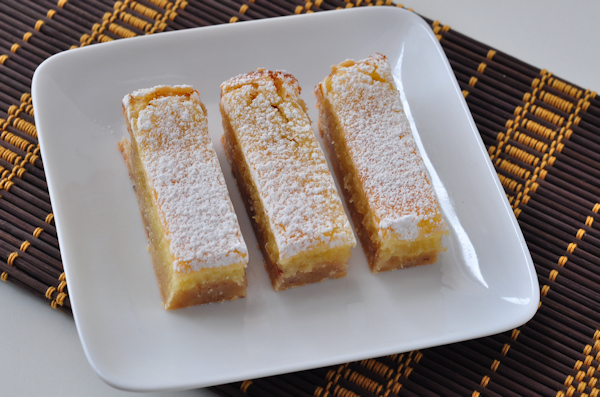
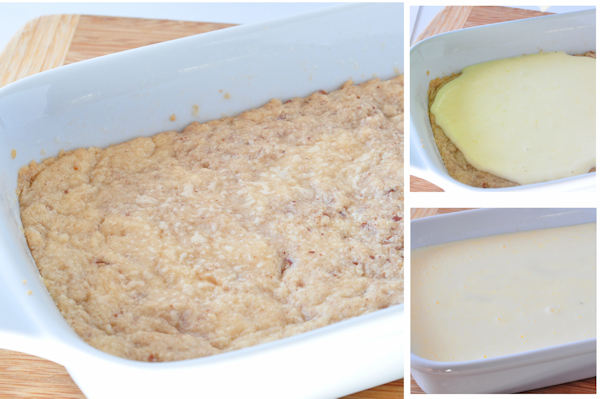 Return the dish to the oven and bake another 30 to 35 minutes, turning halfway through the time. The top should be nicely browned. Cool on a rack. Don’t try to eat them when they are right out of the oven, because that filling is like molten lava. When they have cooled, sprinkle the top generously with powdered confectionary sugar.
 Cut into serving sizes as you like. I prefer narrow slices, because these are very rich. Keep leftovers sealed up, and if not gone in two days, I would refrigerate them.
 I would refrigerate them if they lasted two days.