A month ago, he was checking out the weather. And thinking that he needed a longer nap.
But this morning, he is catching a few rays
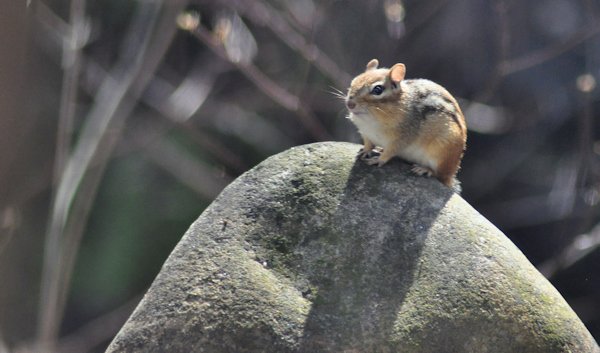 ….and thinking that things are looking up
A month ago, he was checking out the weather. And thinking that he needed a longer nap.
But this morning, he is catching a few rays
 ….and thinking that things are looking up
This recipe takes more effort to write than it does to make. So, so simple, it is also pretty inexpensive, versatile and relatively diet friendly. Oh yeah – it tastes reeeeeeally good! That is kind of important.
The amounts I am giving you here were sufficient for 3 medium sized chicken breasts. Begin by combining, in a shallow dish, like a pie plate:
1/2 cup buttermilk
1/4 teaspoon garlic powder
1/2 teaspoon kosher salt
8-10 grinds of pepper
 Mix
Mix Trim the chicken beast of fat and other nasty bits. and gently pound to an even thickness
 Till it looks like this
 Place each one in the buttermilk mixture
 Make sure you use a dish that is wide enough so that all of the chicken can lie flat. If I think of it, I do this the day before, and put it in the fridge overnight. At the very least, I try to let it sit at least a couple hours, but if 20 minutes is all the time you have, it will still be good. The buttermilk helps tenderize the chicken, and makes it juicy.
 In another shallow dish – again I use pie plates for this – combine bread crumbs and seasonings. I will tell you what I have going on here, but you can use whatever combination you like. The herbs and spices can be varied – I use this method of oven frying to make chicken parmesan for example, using garlic powder, italian herbs and bit of the powdered romano cheese from the green can. Sometimes, I make it a lot spicier, by adding some hot sauce to the buttermilk, and extra chili powder and cumin to the flour. The bread crumbs are dry – a combination of store bought and the store of dried bread I always seem to have around, whizzed up in the food processor.
1 cup of dry bread crumbs
1 teaspoon garlic powder/granules
1/2 teaspoon onion powder
1 teaspoon dried parsely
1 teaspoon dried oregano
1/2 teaspoon dried thyme
1/2 teaspoon dried basil
1 teaspoon kosher salt
10-15 grinds of pepper
1 teaspoon California chili powder
1/2 teaspoon smoked paprika
 Stir till evenly combined
 Take each breast, one at a time, from the buttermilk [leave all the buttermilk on there – no shaking it off or anything]and place it in the bread crumb mixture.
 Using a spoon, cover the top with bread crumbs and press all over the surface lightly to help the crumbs adhere.
 Gently place each one on a rack that is set on a sheet pan. I line them with the parchment paper I will use when cooking them, because some crumbs are going to fall off and it will be easier to just pick up the paper and shake the crumbs off. Make sure they aren’t touching, and put the whole thing in the refrigerator for 30 to 60 minutes, depending on how much time you have. This will make the breading really stick to the chicken. You can go straight from breading to baking, but this extra step does give you a crispier coating.
 Preheat the oven to 400º. Pick up the rack, remove any crumbs fom the pan, and drizzle a line of olive oil where each breast will be – about a teaspoon each.
 Lay each breast flat on the line of oil and drizzle another teaspoon or so over the top of each one.
 Bake for about 12 minutes, and then turn each one over and bake another 8 minutes or so.
 So nice.
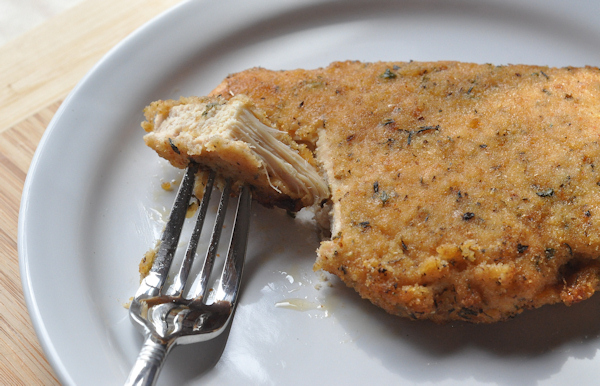
You can use chicken prepared this way for chicken parmesan, for sandwiches, or as we had this night – with a side of garlic mashed potatoes and some sauteed brussells sprouts. You can use this same method to make chicken fingers or nuggets too – a much better alternative for your kids than the frozen ones. Have fun!
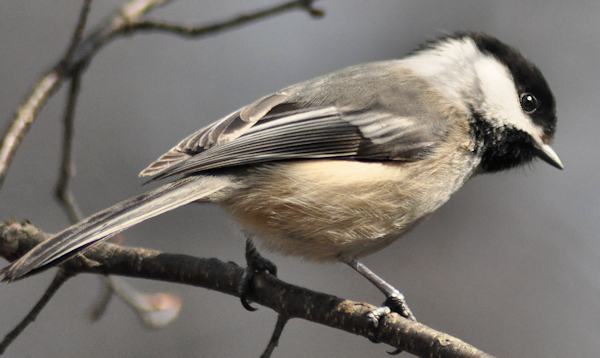
Keeping bird feeders filled all year ensures a steady stream of little visitors. The boldest ones are always the chickadees. They aren’t very afraid and in fact, get so used to me being out in the shade garden, that my presence barely catches their notice.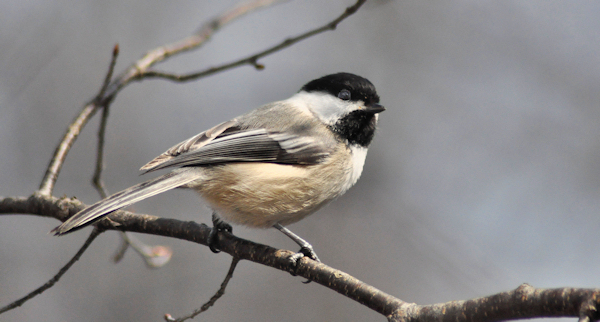 That is later on though. I admit that I don’t hang out in the shade garden much in the winter. Indeed, it is difficult to even find the shade garden in the winter, as it’s usually buried under a couple feet of snow. So, until they get used to me again, they are paying me a bit more attention than they will later on.
“What is that? And what is the clicky-clicky thing they are holding?”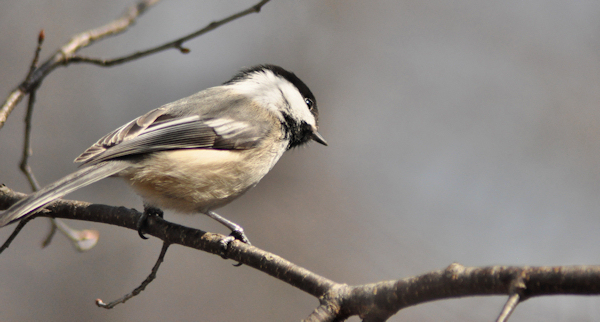 “Ah – I remember now. You bring the seeds!”
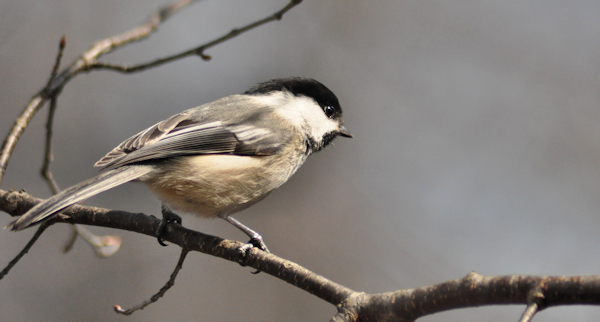 “Speaking of which – the feeder could use a couple more scoops, lady. Why don’t you put down the clicky-clicky thing and see what you can do about that?”
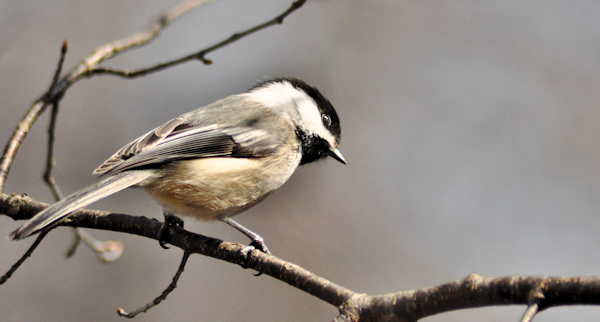 So of course, I did. I wouldn’t want to miss this after all.
This recipe has been moved to my new blog.
You can find it here: Irish Soda Bread on The Creekside Cook
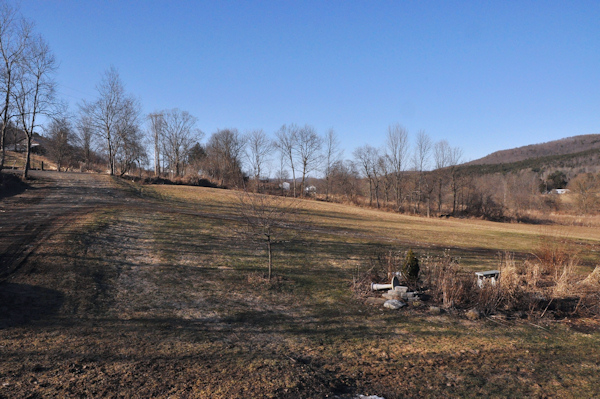
This is the second-to-last post in this series, which began last April. Look at that people – no snow! Here’s the back. I am going to set up that birdbath today and fill it – it may still freeze at night but not enough to damage it, and then I don’t have to worry about keeping the little one filled so much. The light was so pretty late yesterday afternoon that I decided not to wait until this morning. 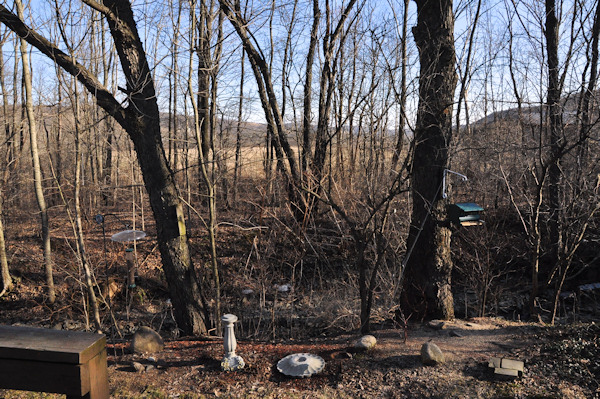 And here is the front – I have a lot of work to do out there this spring – clean up and a bit of an expansion as well. That big feild across the driveway? We will start our daylily farm there this spring. You have to put up an electric fence for daylilies, or they wander off when you put them out there to graze. No wait – that’s cows. Anyway – in about 5 years there will be rows of daylilies growing out there and people can come and buy them.
Previous months are here, which leads back to the old blog, since I don’t have all of these photos moved to the new server yet.
Join in if you like – the guidelines are simple:
This is a photography meme.
1. Step out your front door and take a picture.
2. Step out your back door and take a picture.
3. Put them on your blog, along with the rules.
4. If there are things in the photos that you particularly like or dislike, you can point them out, or just explain what we are seeing. Maybe changes over the seasons or some junk in your neighbor’s yard that drives you nuts.
5. Tag as many or few people as you like – preferably at least one though.
6. Do it again next month if you like.
Could not be easier, right? I don’t care where you live, what you see when you step out your door is different than what the rest of us see outside ours and that is what makes it interesting.