I love recipes like this. They seem more complicated than they really are and the result is a truly made from scratch creation. Made from scratch is very satisfying, because you take raw, un-messed with ingredients and turn them into a meal – real food. Yum. I will say that in my book, any cooking is better than no cooking, so I would not be the one to tell you that you should go to KFC rather than use canned broth or frozen biscuits. Do what you can and enjoy the result. But if you have a lazy Sunday afternoon with a bit of free time, you may want to give this a try.
It’s an appropriate recipe for this time of year I think. It’s an option perhaps, if you don’t want to tackle a whole turkey for Thanksgiving dinner. I have always been a fan of the dark meat on turkey. My dream turkey would have huge thighs – like a speed skaters. I love that they sell them separately now and pretty cheap too. I think this package of two thighs weighed about 3 and half lbs and it was under $5 and will easily feed 4 to 6 people. Here are your ingredients for getting started. The thighs, 2 large chopped carrots, 2 large celery ribs with the leaves and 1 medium onion- all just a rough chop. Oil for browning, salt and pepper and 4 cups of water.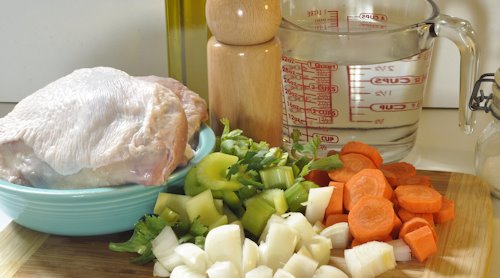 Wash the turkey and pat dry with paper towels, sprinkle with kosher salt and fresh cracked pepper. Dry stuff browns, wet stuff just kinda boils, so make sure you dry them well and add the salt right before you put them in the pot. Put a couple tablespoons olive or vegetable oil in the bottom of a heavy stew pot and set over high heat until very hot. Carefully add the thighs, making sure they don’t touch each other [sorry – the ones in the photo are touching – I scolded them for that] and leaving the heat on high, allow them to brown on one side.
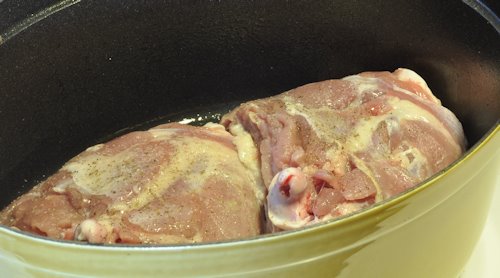 When the first side is brown, salt and pepper the side facing up and carefully turned them over, again making sure they don’t touch. I find good quality tongs work well for this.
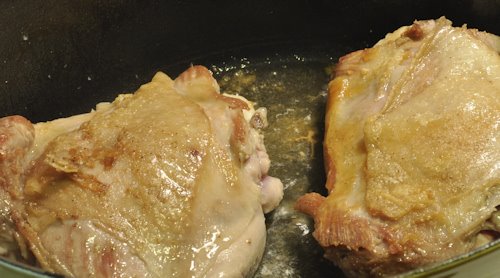 If you have a large enough pan so that the veggies will not just be on top of the meat, you can leave the thighs in there, but if not, then take them out and put them in something like a pie plate to catch the juices and set aside for a couple minutes. Put all of the veggies in at once and stir around for 30 seconds or so. You can lower the heat a bit and sauté the veg for 3-4 minutes, stirring once a minute or so. Add the 4 cups of water to the pot, being careful about any steam that may rise up and then put the turkey back in, along with any accumulated juice. Bring up to a simmer, cover and lower heat to medium low and allow to cook for about an hour, or until thighs are done through.
 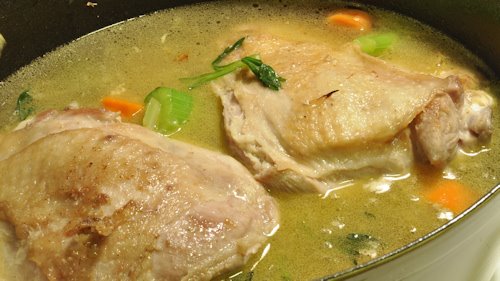 Once again, remove thighs to a pie pan to cool and turn off the burner. At this point, a lot of recipes will tell you to fish out all the veggies and discard them. You can do that certainly, but it just seems wasteful to me, so I use my hand blender to zap it all up into a smooth broth.
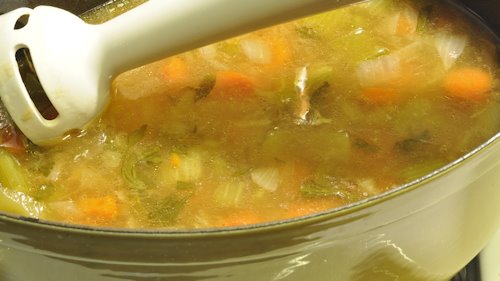 See? This is like the car chase of this recipe – the hand blender in motion.
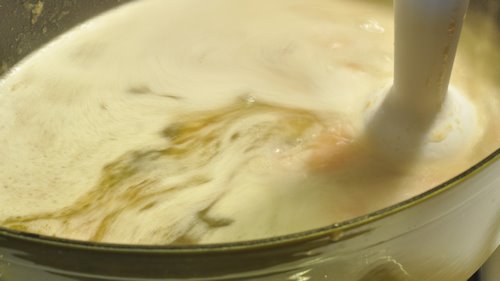 Here you go – all nice and smooth. The carrots give it a nice color.
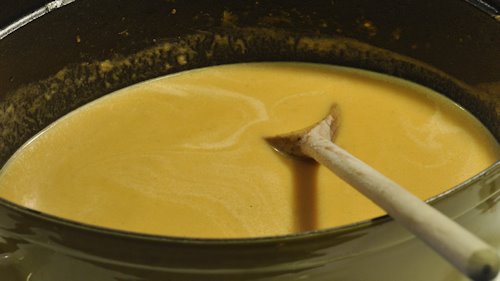 Return the pan to the heat and add
1/2 cup white wine
1 Tablespoon poultry seasoning
1 finely minced garlic clove
thyme – 1/2 teaspoon dried or about a tablespoon of the leaves if fresh
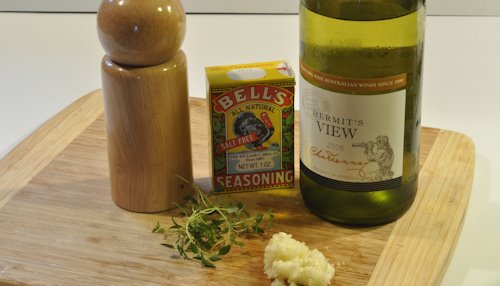 Also add about a cup of onion sliced thusly:
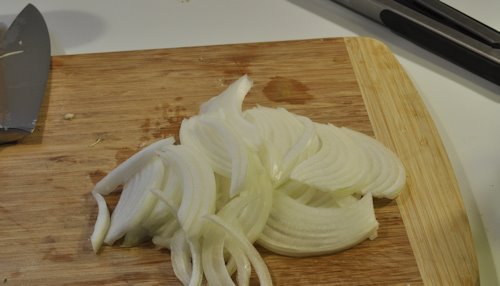 Let that simmer until the onions are a nice soft texture – 20 minutes or so. In the meantime, remove all skin, bones and other nasty bits from the thighs and chop the meat in roughly one inch cubes.
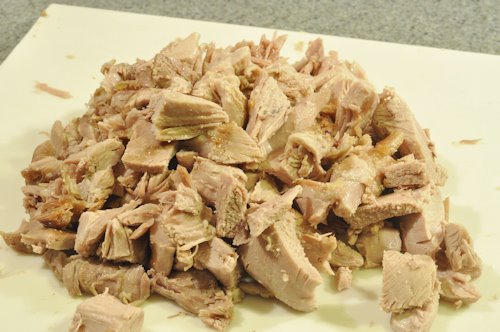 Add to the simmering pot and cover, cooking maybe 10 minutes more.
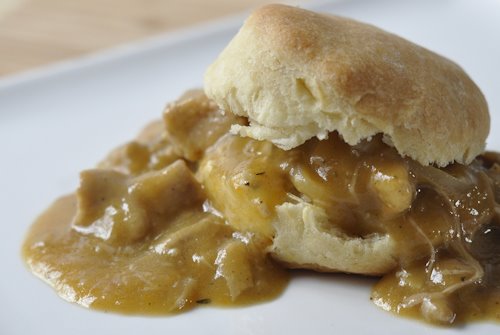
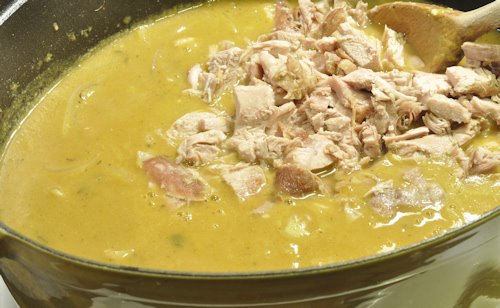 Make a slurry from 1/4 cup water and 3 tablespoons cornstarch. Add this very gradually, stirring constantly and bring back to a simmer after each addition until it is as thick as you like. You can serve this over store bought biscuits if you are pressed for time, or make Buttermilk Biscuits yourself. Place split biscuit halves on a plate, top with turkey mixture and then with the other biscuit half. Now stand back and wait for the sighs of contentment.